
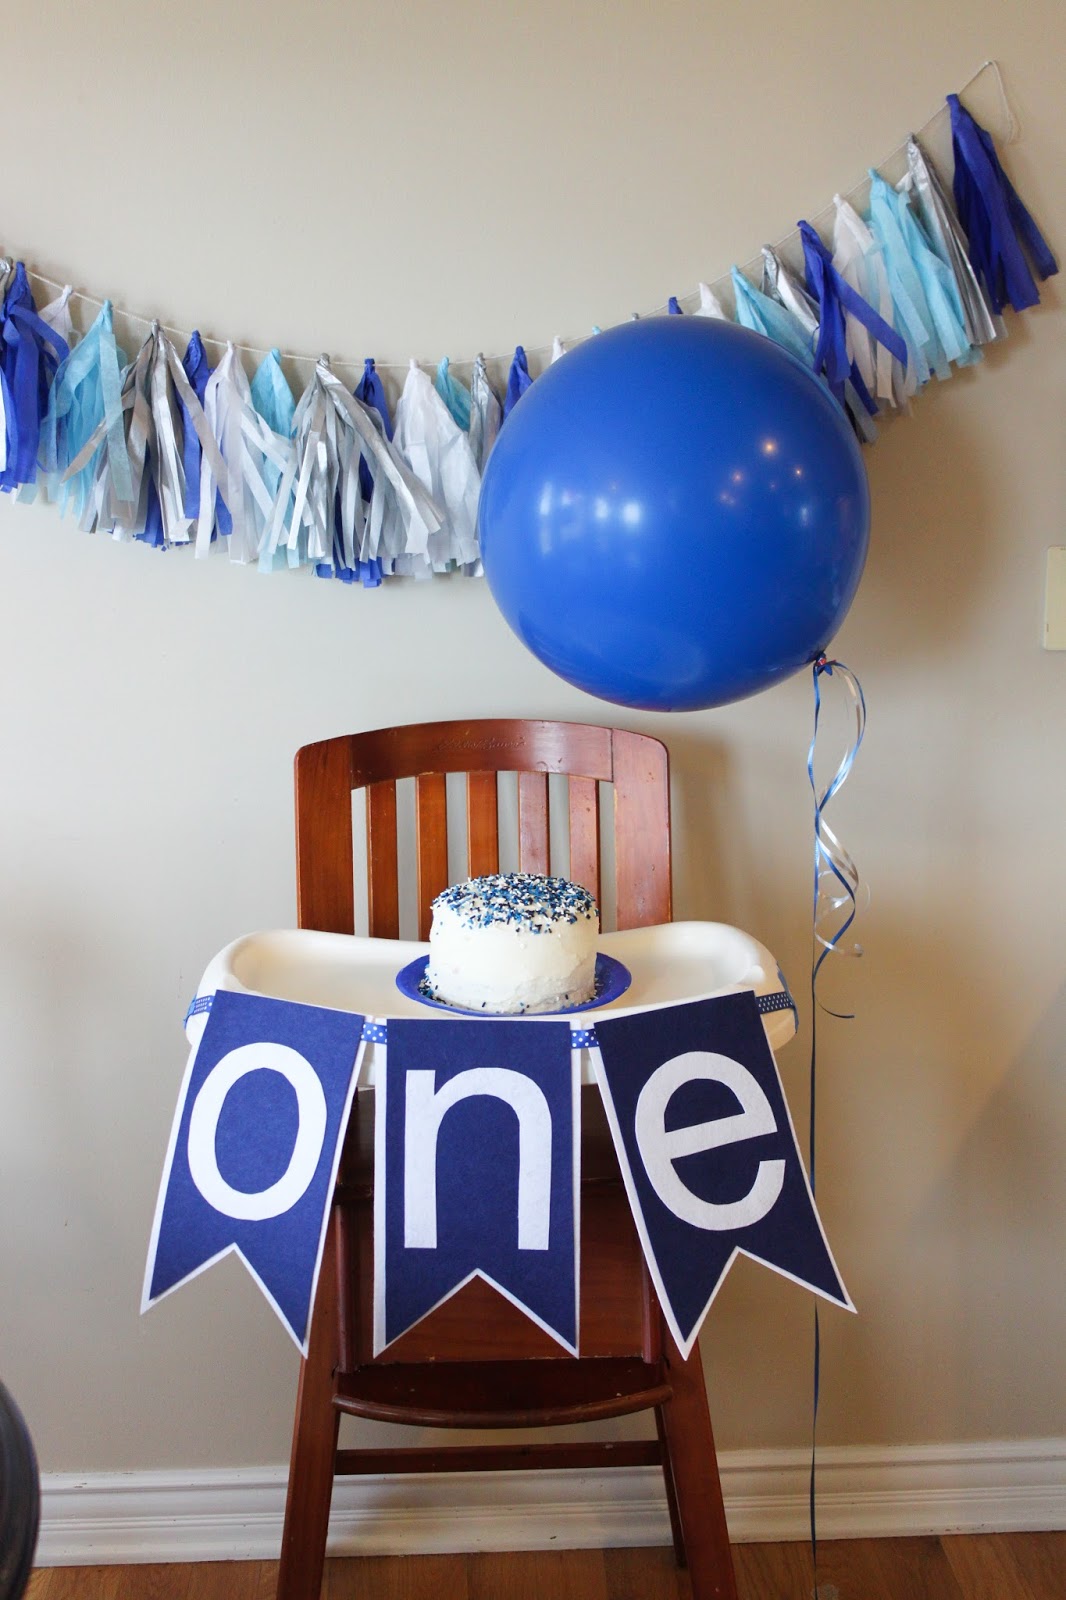
My youngest son turned one last week! I wanted to make a tissue paper tassel garland to hang on the wall behind his high chair for a festive look at his birthday party. If you are looking for a fun way to make an impact at your party, that is budget friendly, this DIY garland is for you. I found my tissue paper for $1 a package at Hobby Lobby. This project cost me less than $4 and I had tissue paper left over to add to my gift wrapping stash. Make sure to allow yourself enough time to complete the garland before your event. It does take some time to get enough tassels to fill your strand. I enjoy a good project, I find it relaxing (some will think that is crazy). Find yourself a good show to watch while you are working and time will fly by. I completed my garland while watching the Men's NCAA tournament, it took some of the stress away from watching the nail biting game!


DIY Tissue Paper Garland Tutorial
Step 1. Take your tissue paper and fold in half (fold is at the top).

Step 2: Take the left edge and fold over to meet the right edge.

Step 3: Repeat step 2 to fold over again (and take left edge and fold over to meet right edge).

Step 4: Begin cutting at the right hand side. Cut strips in desired width, stop cutting at least 2 inches from the top.

Step 5: Finish cutting strips across tissue paper.

Step 6: Unfold tissue paper, and cut down the center to create two separate pieces.

Step 7: Unfold each section and roll in the center from one edge to the other edge.


Step 8: Twist the center together and fold over.

Step 9: Fold the tissue tassel piece over the ribbon or cording you are using to hang your garland on.

Step 10: Create desired spacing (take into account how full you would like the garland to be) and hot glue each tassel in place. Repeat until you reach desired fullness and length.
Step 11: Enjoy the party! Don't forget to document your little one in front of the festive decor!


No comments :
Post a Comment